Hot on the tail of my first major project, Chapter 3 of Make: Electronics begins with some soldering lessons and experiments.
I've watched a few recommended videos and such for soldering before, but the book showed it's quality once again and explained soldering in a way that made me feel like I actually had an idea what I needed to do, instead of the usual "do what I'm doing! Melt melt melt! Look, perfect every time!"
This is also the first project I haven't been fully equipped to handle, and that makes me kinda sad. As I mentioned at the beginning, I really want to do every bit and step, so it's frustrating to be lacking the tools to do so. Time to go spend some more money, I guess!
The first lapse was that the project calls for both a high power 40w iron as well as a small 15w pencil iron. I have a single iron with a 20w/40w switch, so it's not all bad, but it would have been easier and the experiments may have worked better if I had the proper tools.
Also, the book recommends getting a piece of plywood to solder over so I don't burn and get solder all over whatever surface I'm working on, but alas! We are not hoarders by a long shot and don't have scraps of wood hanging around. So we found a little scrap of wood from the firewood pile and I soldered over that. (Verdict: I managed to splash solder all over, and it hit every surface but the wood block!)
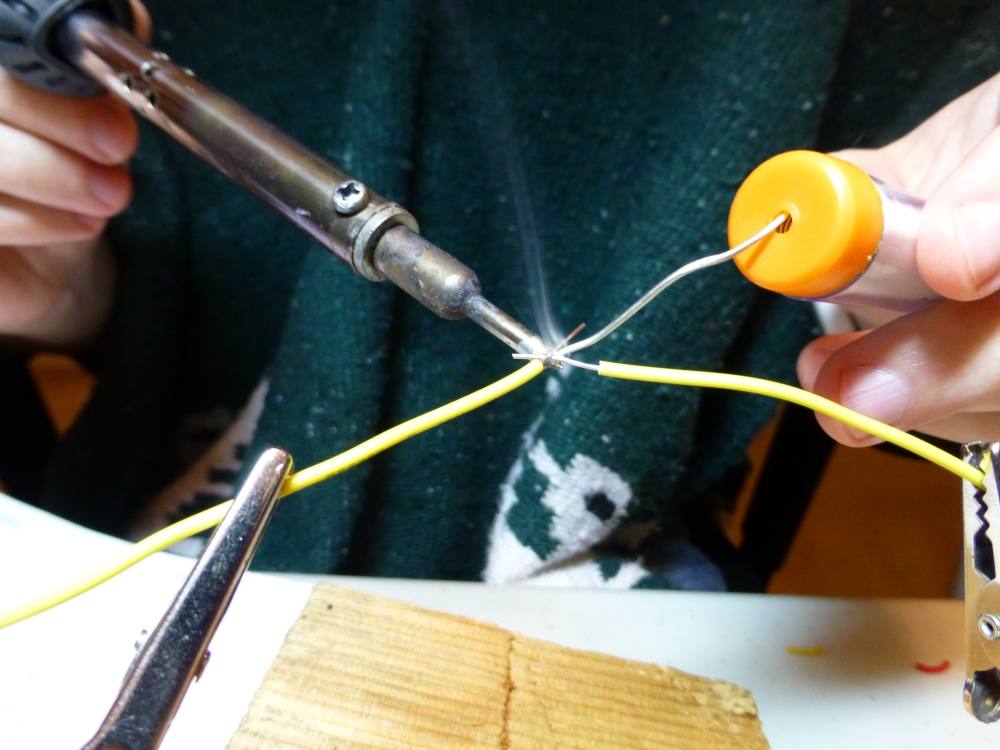
Anyways, to the soldering itself! I used the 40w setting to fuse two bits of wire together. On my first attempt I pulled the iron away before the solder and got it stuck, so I had to retry. On the second try I had the iron under the wires because it seemed like a better angle to work at, but the solder flowed onto the iron (naturally) so I had to kind of melty-glob it back on to the wires. Bad form, old bean!
I've watched a few recommended videos and such for soldering before, but the book showed it's quality once again and explained soldering in a way that made me feel like I actually had an idea what I needed to do, instead of the usual "do what I'm doing! Melt melt melt! Look, perfect every time!"
This is also the first project I haven't been fully equipped to handle, and that makes me kinda sad. As I mentioned at the beginning, I really want to do every bit and step, so it's frustrating to be lacking the tools to do so. Time to go spend some more money, I guess!
The first lapse was that the project calls for both a high power 40w iron as well as a small 15w pencil iron. I have a single iron with a 20w/40w switch, so it's not all bad, but it would have been easier and the experiments may have worked better if I had the proper tools.
Also, the book recommends getting a piece of plywood to solder over so I don't burn and get solder all over whatever surface I'm working on, but alas! We are not hoarders by a long shot and don't have scraps of wood hanging around. So we found a little scrap of wood from the firewood pile and I soldered over that. (Verdict: I managed to splash solder all over, and it hit every surface but the wood block!)
Anyways, to the soldering itself! I used the 40w setting to fuse two bits of wire together. On my first attempt I pulled the iron away before the solder and got it stuck, so I had to retry. On the second try I had the iron under the wires because it seemed like a better angle to work at, but the solder flowed onto the iron (naturally) so I had to kind of melty-glob it back on to the wires. Bad form, old bean!
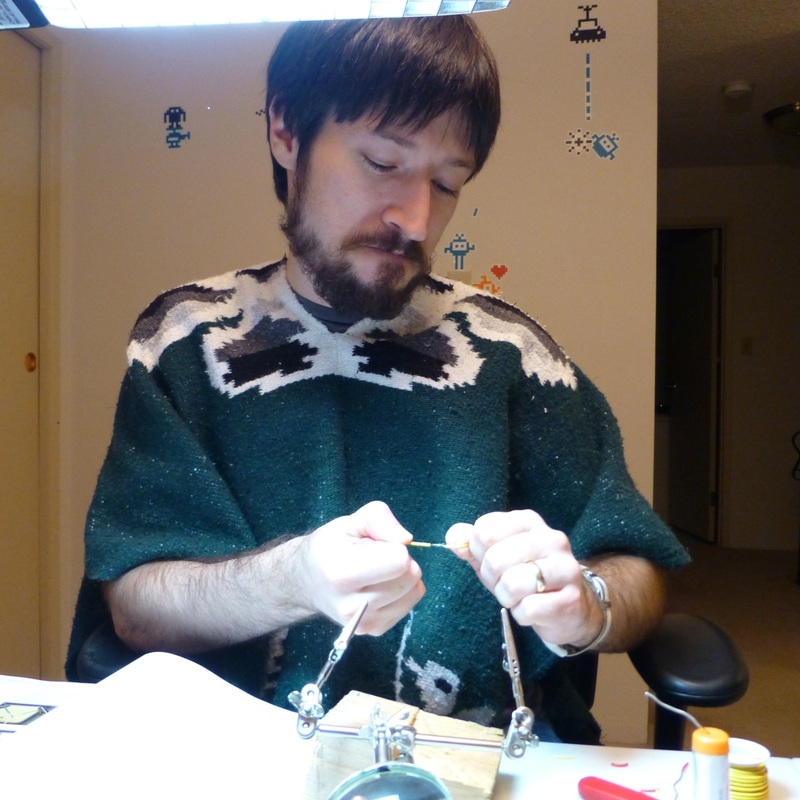
Finally. I managed to get the timing right and the angles right, and the solder flowed where it was supposed to and made a nice shiny bead. (Yes, I'm wearing a serape. It was cold, okay!)
I gave the wires a good pull test; something the book pointed out is that I am technically melting metal to metal with metal; it should be a stronger bond than my little programmer arms can break, so give it a good solid pull to see if I did a good job! If it comes apart under mere pulling, it's obviously not a good join.
It didn't come apart. Woo!
After that, I tried the trickier technique of soldering the wires together parallel to each other, making a slim, straight connection which can then have heat-shrink tubing placed over it.
The soldering went great, the tips really worked for me. Another perfect bond!

However, here is where I ran in to my second lapse: I have not yet acquired a heat gun, so I wasn't able to work with the heat-shrink tubing. I shamefully wrapped the joint with electrical tape, and will not post pictures of that here due to embarrassment.
The chapter ended with a project to solder coloured wire ends on to the AC adapter I've been using, so that a) the ends are coloured and easier to tell apart, and b) the ends are solid instead of braided so they are easier to work with. As I didn't have the ability to put tubing around the joins, I didn't feel comfortable carrying through with this. I will revisit this in the near future (because if nothing else, it seems like a good idea, and I'll be using that adapter I'm sure!)
But, regardless of skipping that project, it looks like we're just getting warmed up.
 RSS Feed